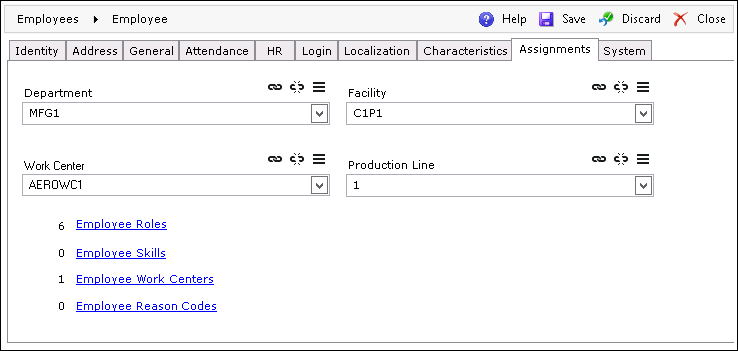
The Assignments tab enables assigning the following entities to an employee:

Any changes to Employee configuration made in this tab will be visible in the system after the lapse of period specified in the CacheValidationDelay key in the Central Configuration file. This key governs the period between each cache refresh. The default value is 300 seconds. For detailed information on Central Configuration key, refer to the "Framework" section of the Central Configuration Documentation.
 (Link), and
the Departments assignment screen will
be displayed
 (Unlink)
 (Properties)
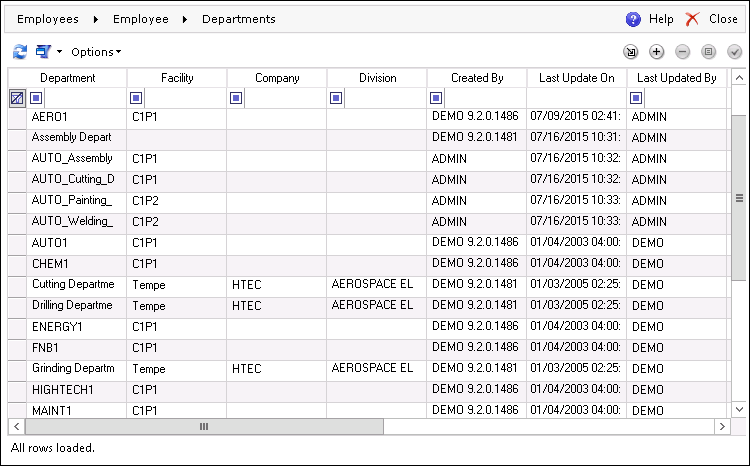
 (Select)
 (Add), and the
Department editor screen will open
 (Remove)
 (Properties)
 (Link), and the Facilities assignment
screen will be displayed
 (Unlink)
 (Properties)
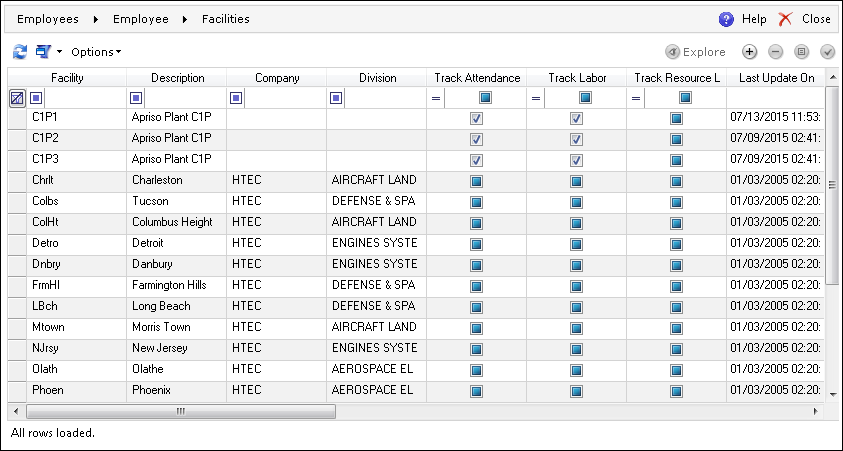
 (Select)
 (Add), and the Facility editor screen
will be opened
 (Remove)
 (Properties)
This is a default Work Center assigned to the given employee.
 (Link), and
the Work Centers assignment screen will
be displayed
 (Unlink).
 (Properties).
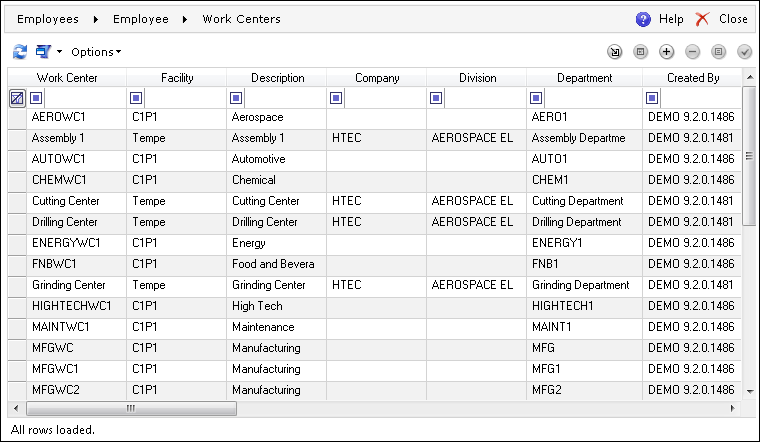
 (Select)
 (Add), and the
Work Center editor screen will be opened
 (Remove)
 (Properties)
 (Work Schedule)
 (Link),
and the Production Lines assignment screen
will be displayed
 (Unlink)
 (Properties)

 (Select)
 (Add), and
the Production Line editor screen will
be opened
 (Remove)
 (Properties)
Clicking the Employee Roles link will open
the Employee Roles screen, where you can select
the desired Role and click  (Link). To remove an employee
Role, select it and click
  (Unlink).
Clicking the Employee Skills link will open
the Employee Skills screen, where you can
select a desired Skill and click  (Link), which will open the Skills browser.
To remove an employee Skill, select it and click
  (Unlink). To see the properties, select the Skill and click
  (Properties).

 (Select)
 (Add), and
the Skill Properties screen will be opened,
where you can provide the name of the Skill and its description as
well as link the employees directly to the new Skill
 (Remove)
 (Properties)
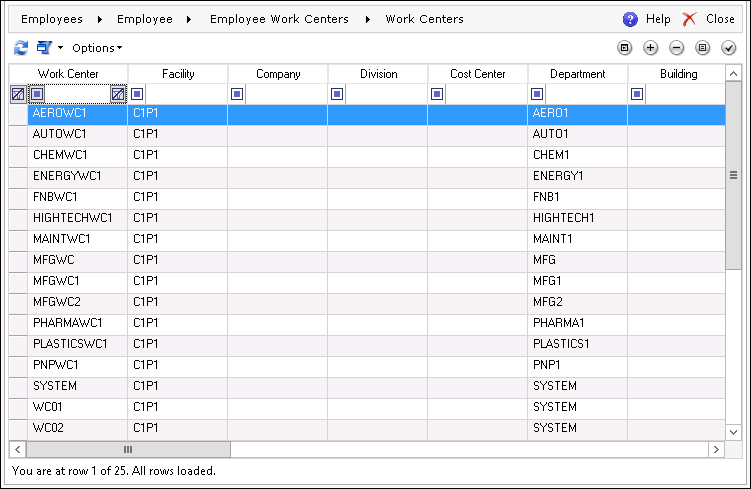
This screen enables linking additional Work Centers to a given employee. To link a default Work Center, refer to the Work Center section above.
Click the Employee Work Centers link, select the desired Work
Center, and click  (Link), which will open the Work Centers assignment screen. To remove an
employee Work Center, select it and click
  (Unlink).
To see the properties, select an employee Work Center and click
  (Properties).
 (Select)
 (Add), and the Work Center editor screen
will be opened
 (Remove)
 (Properties)
 (Work Schedule)
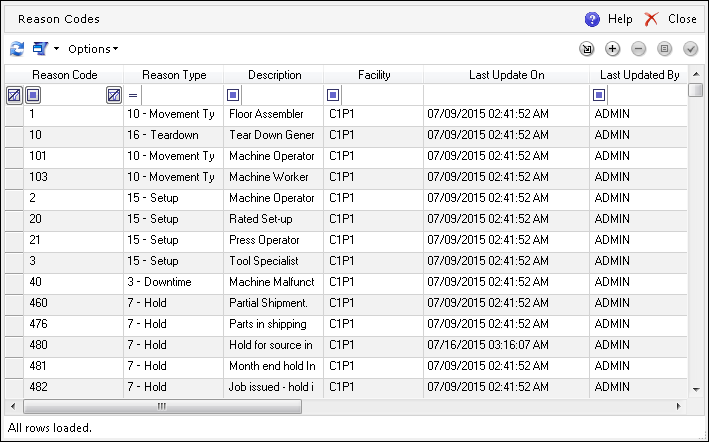
Click the Employee Reason Codes link and
click  (Link). The Select Labor Type window will
appear, where you need to choose one of the types from the drop-down menu
and click Next. The Reason
Codes assignment screen will then open, where you can select the
desired Reason Code and click
  (Select). To remove an employee Reason Code, select it sand click
  (Unlink).
 (Select)
 (Add), and the
Reason Code editor screen will be opened
 (Remove)
 (Properties)