
On the Facility editor, the following information must be provided when adding a new employee Facility:
Click  (Link) next to Facility
in order to enter the Facilities assignment
screen. The following actions can be performed on this screen:
(Link) next to Facility
in order to enter the Facilities assignment
screen. The following actions can be performed on this screen:
 (Select) to complete the link
 (Add), and the Facility editor screen
will be displayed
(Add), and the Facility editor screen
will be displayed (Properties)
It is important to note that the employee Pay Cycle for this Facility and the employee teams for this Facility are enabled once the Facility is added and the screen is saved.
After clicking Employee Pay Cycle for this Facility:
 (Link) and select the desired Pay Cycle
 (Unlink)
For more information on Pay Cycles, please refer to the Pay Cycles topic in the Time Manager Help.
The employee Pay Cycle for this Facility must be linked in order for the employee to be able to use Time Manager.
It is important to note that the employee teams for this Facility and the employee Pay Cycle for this Facility are enabled once the Facility is added and the screen is saved.
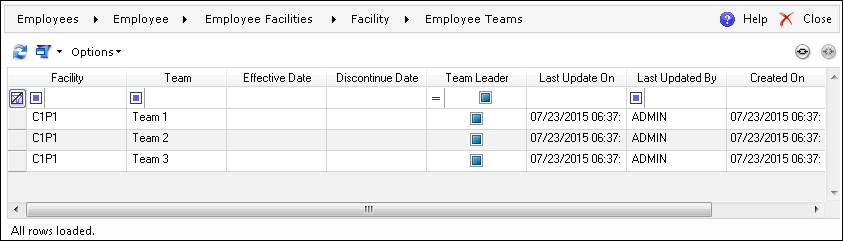
After clicking Employee Teams for this Facility, the Employee Teams screen will be displayed:
(Link), and the Teams assignment
screen will be displayed (Unlink)
(Select) (Properties)
(Add), and the Team editor will be displayed (Remove)
To add a Work Center, click
(Link) next to Work Center,
and the Work
Centers assignment screen is displayed.
To remove a Work Center, click  (Unlink).

(Select)
(Properties) (Add), and the
Work Center editor is displayed (Remove) (Work Schedule)
This flag indicates if the given employee is allowed to log in and perform work at the given Facility.
To define the currency, click
(Link). The Currencies assignment screen will
be displayed. Select the desired currency and click
(Select).
To remove a currency, click
(Unlink).
To add an occupation, click
(Link). The Occupations
assignment screen will be displayed.
To remove an occupation click
(Unlink).
(Select)
(Properties) (Add), and the
Occupation editor will be displayed

(Remove)The Occupation Labor Grade is a more detailed description of the employee's occupation.
(Link), and the Occupation Labor Grades
assignment screen is displayed (Select)
(Unlink).
(Link), and the Pay Rules assignment screen
is displayed
(Select)
(Unlink)For more information on Pay Rules, refer to the Pay Rules topic in the Time Manager Help.
(Link), and the Work Periods
assignment screen is displayed
(Select), and the Shift, Work
Period, and Effective Date
fields will be automatically filled on the Facility
editor
(Unlink)For more information on Work Periods and Work Shifts, refer to the Work Shifts and Work Periods topic in the Time Manager Help.